{sec  }
}
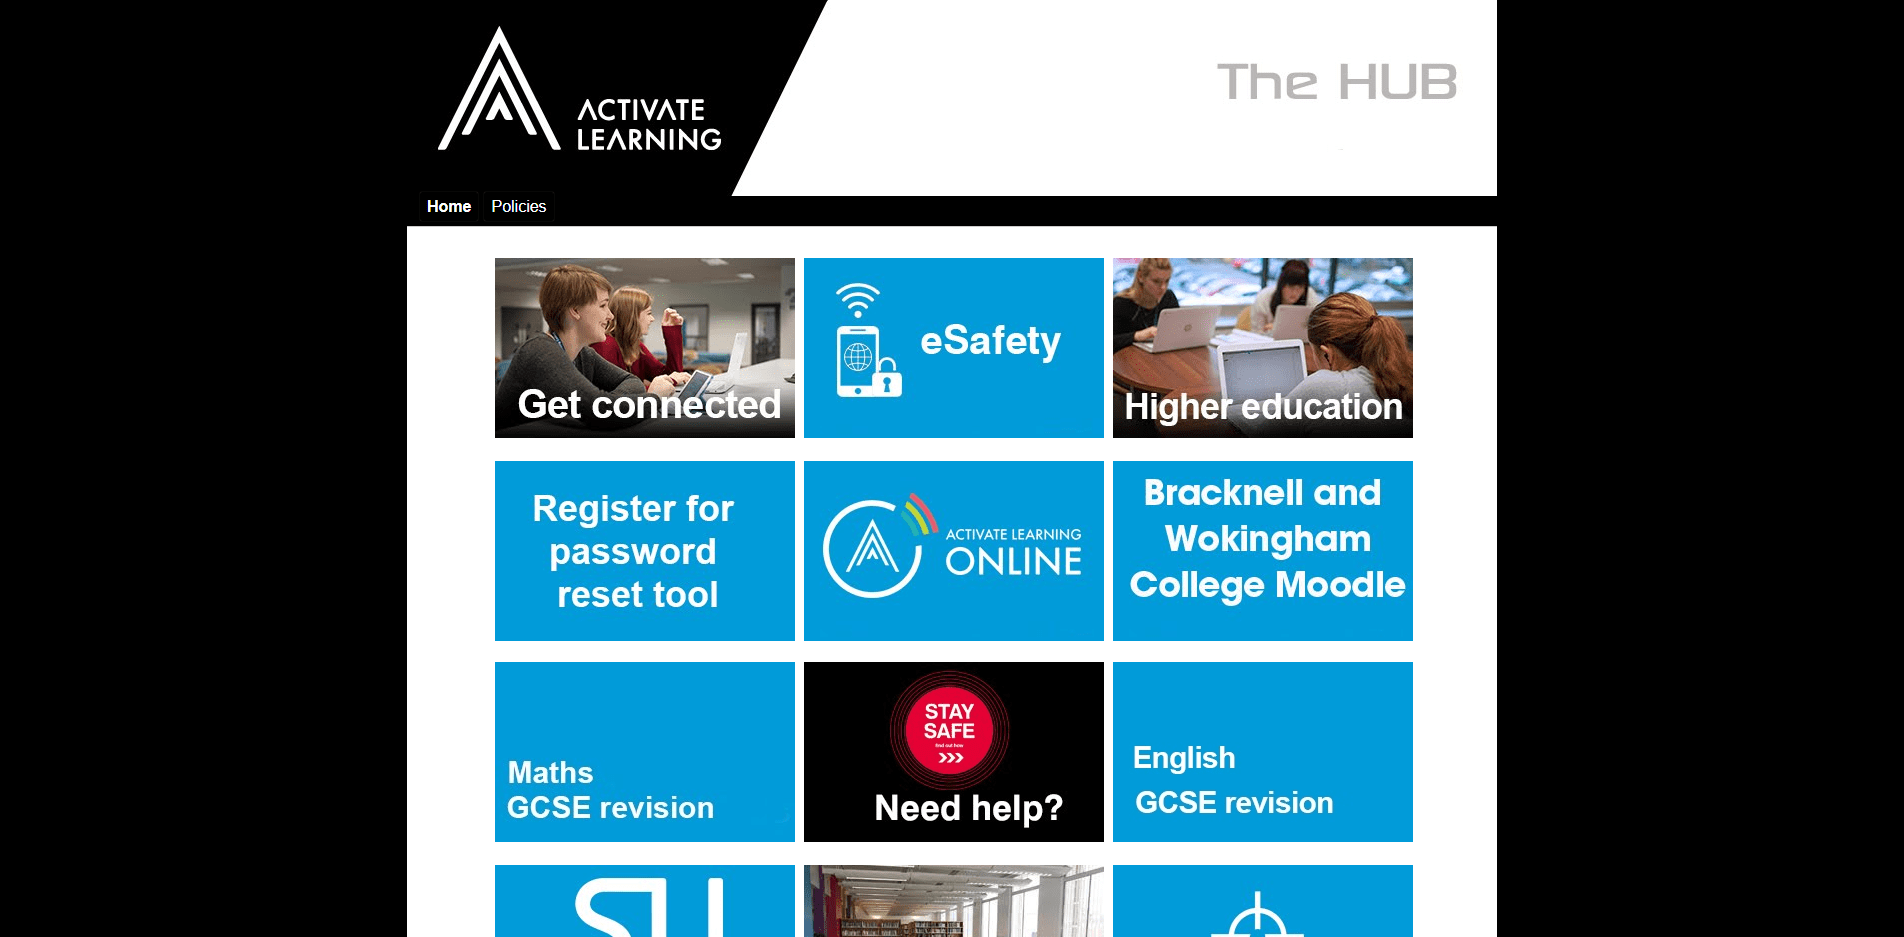
cPanel is a web-based control panel made by cPanel Inc. It manages files, directories, SQL databases, email accounts, and an installer amongst many other software and functions. It usefully also provides usage monitoring of the limited storage capacity on the server managed by the hosting provider which, for an increased monthly charge, can be increased and decreased as required.

{sec  Joomla}
Joomla 3.5 Installer
Softaculous Applications Installer includes lots of Content Management Systems (CMS) including two versions Joomla, the 'no longer supported' legacy 2.5 and the current 3.6. Installing Joomla is very straightforward but there are a couple of annoying processes to do correctly because otherwise will require doing all over again.
Below are a pair of Tabs, tabbed content built by using a free Extension listed on the Joomla Extensions Directory (JED - A total coincidence!) by Regular Labs. In the first shows the spalshpage and the second showing the installation process. There are a couple of steps in the installation process that will catch out the unwary and a couple that will save time and effort in the future:


-
Choose Protocol
Selecting either http:// or http://www is fine and both work fine as a prefix to the Uniform Resource Locator (URL) but the www is slightly outmoded. I suggest the http://www e.g. http://www.secstudents.org/introduction-to-cpanel as using either in print materials and in hyperlinks works fine.
-
In Directory
This must be left empty. The default is to populate it with Joomla30 but this simply loads the Content Management System (CMS) into a subdirectory rather than the root directory and then requires that installation be deleted and the installation process to be repeated.
-
Import Sample Data
Select none from the pull-down menu's menu items as this will upload text and images to practice with but you will be authoring your own text and uploading your own images to work with.
-
Admin Username & Admin Password
Set your username and password now and write down this and all the other passwords you generate. You are going to generate lots of login detials so have them all in one place with just one exception, anything financially critical.
-
Database Name & Table Prefix
The name is 4 letters and 3 numbers and the prefix is 5 letters so change these to the first characters in the name of you site so that they are easy to locate in phpMyAdmin. e.g. secs001 and secst_
-
Automated Backups & Backup Rotation
Having easily accessible backup copies of your website is incredibly useful for building confidence and setting these for daily and every 8 days provides sufficient cover for issues to be identified and resolved.
-
Email Installation Details
Insert your main Google Mail or Microsoft Outlook email address. Both are very useful to setup as the former access Google Analytics and the latter the enormous storage capacity of Microsoft OneDrive.
{sec  File Manager}
All of the software your website uses is accessed using the File Manager. All of the directories (folders) for your site are located in the public_html directory. All of the extensions, the plugins, modules and components uploaded to your site, and the Joomla Content Management System, are located here.
{sec  phpMyAdmin}
All of the data is held in very small SQL files. Each datasheet holds information specific to a particular basic or extended function. The first, and most useful, to know about [prefix]_users. This holds details about registered users, includeing the superuser administrator and can be edited so that paswords can be reset without needing to login to /administrator.


The password is changed by changing the Function to MD5, deleting the content in the Value and in its place writing the new password. To save the edit scroll to the bottom of the page and, ensuring that Save is selected in the pulldown menu, press Go.
{sec  Email Accounts}
 Email accounts are straightforward to setup, to manage and to redirect to email services such as Outlook, Gmail and any Personal Information Management (PIM) system such as Outlook or Chandler. The process is really straightforward and each mail account storage quota can be limited but the best way to organise mail accounts is to have them be a redirect straight to your main mail acccount inbox. Each email service is different but the easiest setup is for Outlook.
Accessing a webmail account directly is done by selecting an account and navigating More>Access Webmail. There are three Internet Message Access Protocol (IMAP) clients available Roundcube, SquirrelMail, and Horde but these are only used for testing of the new redirect process to the Outlook.com webmail service or a PIM like Microsoft Outlook.

![]() To access the email client's manual settings select the webmail account's Set Up Mail Client. The secure Transport Layer Security (TLS) settings have four parts, the first two being the email address and password. The third is Post Office Protocol POP3 Port Number an the forth being the Simple Mail Transfer Protocol (SMTP) Port Number:
To access the email client's manual settings select the webmail account's Set Up Mail Client. The secure Transport Layer Security (TLS) settings have four parts, the first two being the email address and password. The third is Post Office Protocol POP3 Port Number an the forth being the Simple Mail Transfer Protocol (SMTP) Port Number:
- Username
- Password
- Incoming Server: POP3 Port: 995
- Outgoing Server: SMTP Port: 465
Either create or login to an Outlook account, open the Settings Menu, open Connected Accounts, and select Other Email Accounts:


Insert the email address and password, select Import into existing folders... and select Manually configure account settings, and click OK.

In the Account Information section insert the new email address and email password into Username and Password, Select Import into existing folders, and ensure that Leave a copy of messages on the server is unticked.
In the Server Information section insert mail.your_website_URL.top_level_domain in both Incoming (POP) Server and Outgoing (SMTP) Server. In the Incoming Server Port and Outgoing Server Port ensure that the three digit numbers from correspond with those cPanel Email Client Configuration, and click OK.


{/secs}